
Choosing animal microchips and readers for an Australian vet clinic
Start with the reader your clinic already uses and where the scanned ID needs to go. Then compare microchip formats, packaging and quote details.
Jump to the quote checklist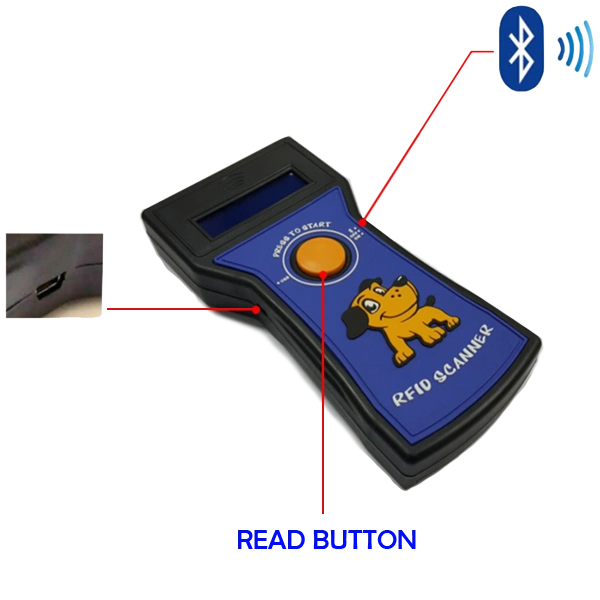
Compare the microchip formats
Check the scanner and app workflow
When keeping an existing scanner, send the make and model with your quote request. Ask which chip protocols the reader supports and request a test with the exact combination you intend to order.
The compatible NEBULUX reader can send a scanned ID by Bluetooth to a compatible app and recharges by USB-C. Use this checklist to evaluate a demo on the device your staff will use.
- Record the scanner model, device, operating system and app version.
- Scan a dedicated test chip and check that the full ID appears on the reader.
- Send the ID to a test record in the app. Compare the digits with the reader display and check that they land in the intended field.
- For temperature reading, check separately where the value appears and how the app stores it, if supported.
Check the paperwork for the exact model
Ask for the model reference and applicable conformance documentation, and check what batch, expiry and ID labels come with the pack. ICAR lists conformance by device. ICAR device register.
Check registration and identifier requirements with the authority for your state or territory. In NSW, the Pet Registry gives separate guidance on microchipping by a vet or authorised identifier. NSW Pet Registry guidance.
Put these details in your quote request
- Clinic name and delivery postcode.
- Microchip size or temperature option and the quantity you need.
- Scanner make and model, plus the app and device if Bluetooth transfer matters.
- Requested delivery timing and any model documentation you need to review.
For the standard 20-syringe pack, a requirement of 60 syringes works out to three boxes. Confirm pack size separately for the other formats.